Whats the goal?
it should help moders to see basic node_box model codes so they can use that in there projects.
How to put in here?
nice would be a picture and a basic discreption what the model looks like and the of course the fixed {x,y,z, x,y,z) values.
so here is a example:
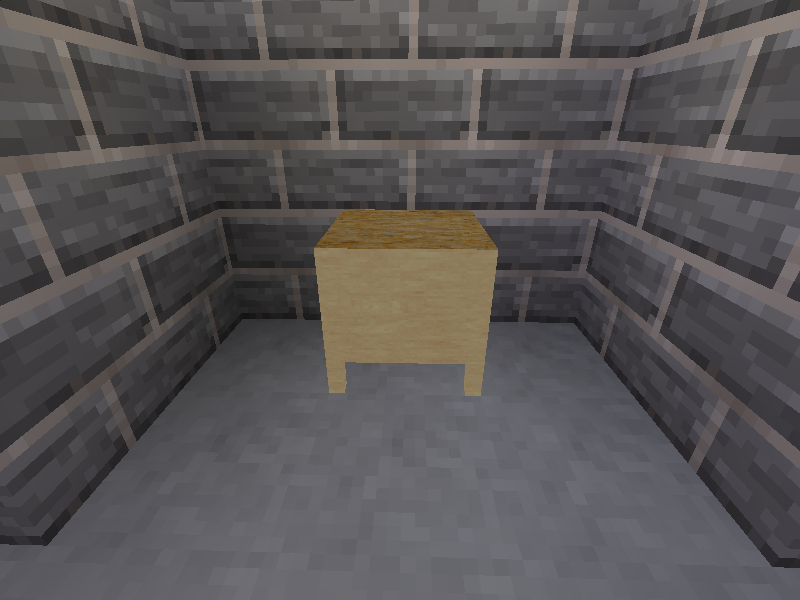
Picture :

Description:
this is a left side panel of any material (in example its default:wood) with the thickness of 0.10
Code:
node_box = {
type = "fixed",
fixed = { {-0.50, - 0.50, -0.50, -0.40, 0.50, 0.50}, }
Would be nice if you guys would add some more examples so we can have a kind of database which allows us to develop more komplex node_boxes in future.
thanks in advance


